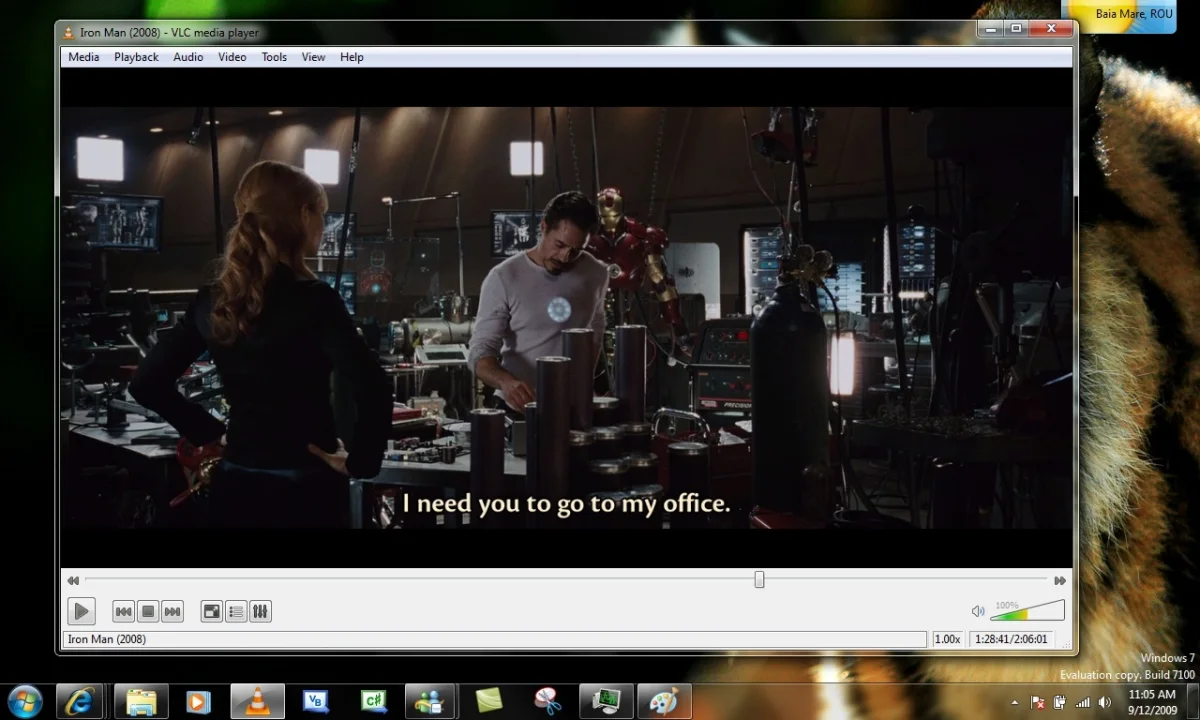
Subtitles play an important role while watching a movie or video when the movie or video is in another language, subtitles play an important role. These are actually text-based translations that can be translated into other languages so that the audiences can easily get an idea of what they are watching.
In other words, subtitles are essential, as they significantly help the audience understand the dialogue of a movie when the movie is not in their native language. In the same context, the VLC is a popular yet most widely used media player that offers the flexibility to watch any movie or series in various different file types. Despite being so functional, a few users have reported that they are facing some issues regarding their VLC subtitles or that their VLC subtitles are not working.
There are not only one, but there are several causes that could be responsible for VLC subtitles not working. These might include VLC subtitle settings that are not properly turned on, VLC files that have been corrupted, subtitles that are not using UTF-8 text encoding, or whatever might be the reason. Here are a few fixes listed below that can probably help you out in solving your VLC subtitles are not working issue.
VLC subtitles are not working. Here are the fixes:
Fix 1: Check whether the subtitle file is empty or corrupted.
One of the possible reasons behind the VLC subtitles not working might be due to the corrupted subtitle files. In order to fix the issue, you must check whether your VLC subtitle file is either empty or corrupted. The VLC media player will not be able to show the subtitles if the file is empty. So, just open your subtitle file to check. Once done, run any movie or video to check whether the problem has been solved or not.
Fix 2: Convert the subtitle file into UTF-8 encoding.
If your subtitle file is not corrupted or empty, you can try converting it into the UTF-8 encoding. Here’s how to:
- Open the subtitle file with Notepad in order to check whether there is correct subtitle text or not.
- If the subtitle file is not using UTF-8 encoding, then you can easily convert it with various tools, like the Convert files to UTF-8 web app.
- Now, select the files option in order to add the subtitle file that’s doesn’t use UTF-8 encoding.
- Then, to begin the conversion process, tap on the Convert to UTF-8 option in order to begin the conversion process.
- Once done, tap on the Download option to download the file can be downloaded to your hard drive.
Fix 3: Reset all the VLC preferences.
Even if converting the subtitle file into UTF-8 encoding doesn’t work in resolving your VLC subtitle not working, you can try to reset all the VLC preferences, as sometimes resetting all the settings can be the best option for the VLC-related issues. Below are the steps to reset the VLC preferences:
- On your VLC settings page, tap on Tools.
- Then, select the Preferences option.
- Choose All, which you can be found in the bottom left corner.
- Tap on the Reset Preferences option located next to the All button.
- To confirm, click on OK here.
- Finally, select Save in order to save the changes made.
Fix 4: Check subtitle settings within the VLC:
Sometimes, wrong or incorrect subtitle settings might lead to the VLC subtitle not working problem, so in order to solve the issue, you must check whether the subtitle setting is correct in VLC or is not misconfigured. Here’s how:
- Open your VLC media player and then tap on Tools.
- Select the Preferences option, then head to the Subtitles & OSD option.
- Now, choose the Enable subtitles option if you have not already selected it.
- Then, select the Auto button under the font-size drop-down menu.
- Select 0px for the Force subtitle position as 0px.
- Once done, tap on the Save option in order to save all the changes made, and then restart your VLC media player.
- Finally, once you have opened the VLC media player again, check whether the subtitle issue has been resolved or not.
Fix 5: Try manually loading the subtitle file into VLC:
Even after trying every single step that is mentioned above, you are still facing the VLC subtitle not working. The last option that you can try is to load the subtitle file into VLC manually. Doing this can possibly help you resolve the VLC subtitle not working issue. Here’s how to:
- First off, open and play the desired video you want to add subtitles to with VLC.
- Select the Subtitles tab, and then choose the Add Subtitle File option from the drop-down dialog box.
- Now, add the subtitle file from the pop-up menu, and then choose the Open option.

“If you like this article follow us on Google News, Facebook, Telegram, and Twitter. We will keep bringing you such articles.”


