Xiaomi, one of the biggest smartphone manufacturers, has done excellent work by creating an Android skin, MIUI. Now, Xiaomi is working towards bringing its latest Operating System, HyperOS. The MIUI offers a number of exciting features and a slew of interesting customizations and enhancements for a smooth, better, and more intuitive user experience. In the same context, MIUI is here again with its interesting Schedule cleaning of trash capability, which allows users to clean the trash automatically.
Generally, the cleaning of trash is done manually, but now MIUI’s ability to schedule the cleanup of the trash helps in removing all the unwanted things from your device automatically by applying a certain time duration to it. Although the manual method of cleaning the trash in MIUI is not straightforward, there are several ways hidden underneath.
MIUI: Clean The Trash Automatically
Meanwhile, these hidden manual methods of cleaning trash include, through the built-in cleaner tool, which is present in almost every Xiaomi and Redmi device, removal of large files through the built-in deep clean, removing duplicate files, and clearing individual app storage. However, these are all manual methods but are useful in keeping your device’s UI clean and smoothly running with enough storage space.
Moreover, the new ability to schedule trash cleanup allows you to set a time duration as per your preference and the trash will be cleaned automatically according to the duration, which you have set from Every day, Every 3 days, Every 7 days, and Every 15 days respectively. Here are the steps mentioned below on how you can clean your trash automatically through the MIUI’s scheduling feature.
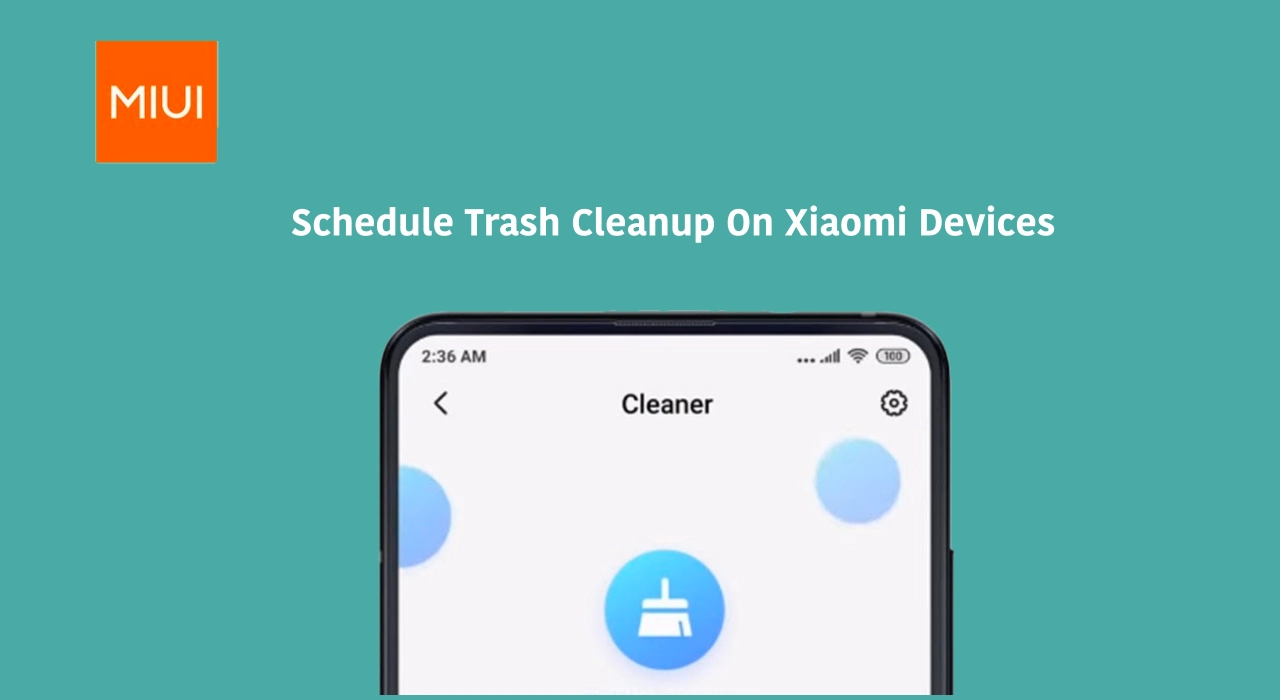
How To Schedule Trash Cleanup On Xiaomi Devices?
1. Open the Security App:
- Locate and launch the Security app on your Xiaomi device. This app is pre-installed on most Xiaomi devices and may sometimes be named Mi Security.
2. Access Storage Cleaner:
- Within the Security app, tap on the Storage Cleaner option. This will open a menu showcasing your device’s storage usage and various cleaning options.
3. Navigate to Scheduled Cleanup:
- At the bottom of the Storage Cleaner menu, you’ll find the Scheduled Cleanup option. Tap on it to access the scheduling settings.
4. Enable Scheduled Cleanup:
- If currently disabled, toggle the Scheduled Cleanup switch to “On”. This will activate the automatic trash removal feature.
5. Choose Schedule and Trash Types:
- You can now customize the scheduling and specify which types of trash to target. Here’s what you can configure:
- Frequency: Choose how often you want the cleanup to run, like daily, weekly, or monthly.
- Time: Select a specific time for the cleanup to occur, ensuring minimal disruption to your usage.
- Trash Types: Choose which categories of files to remove automatically, including junk files, app caches, temporary files, and more.
6. Review and Confirm:
- Once you’ve customized the schedule and trash types, review your settings and tap Start Cleaning to initiate the first cleanup based on your chosen schedule.
“If you like this article follow us on Google News, Facebook, Telegram, and Twitter. We will keep bringing you such articles.”